Screenshots are extremely useful in today’s day and age. They are so versatile that everyone from a student to a CEO uses them. Screenshots are the simplest form of sharing everything that’s on your screen with others. If you want to know how to screenshot in windows 10 because you’re new to the OS, then you’ve come to the right place.
We have mentioned the best and the easiest ways to take snaps on your Windows PC. Note that we focused only on free screenshot taking software as we don’t really feel the need to buy software just to take screenshots. However, if your requirements are advanced, you can check out screen recorder software that will also allow you to capture/record your Windows Screen.

Multiple Ways to Take Screenshot in Windows 10:
There are different methods you can use to take screenshots in Windows 10. You can use Windows shortcut keys, in-built applications or third-party programs based on your specific needs. The following list is ranked based on how convenient they are for me. You can choose any method that suits you better.
1. Snipping Tool
If you want to know how to take snapshot in Windows 10, then the Snipping tool is the first thing you need to get yourself familiarised with. This app has been around since the days of Windows Vista and has been helpful to a lot of people. It provides a lot of flexibility for taking screenshots too.
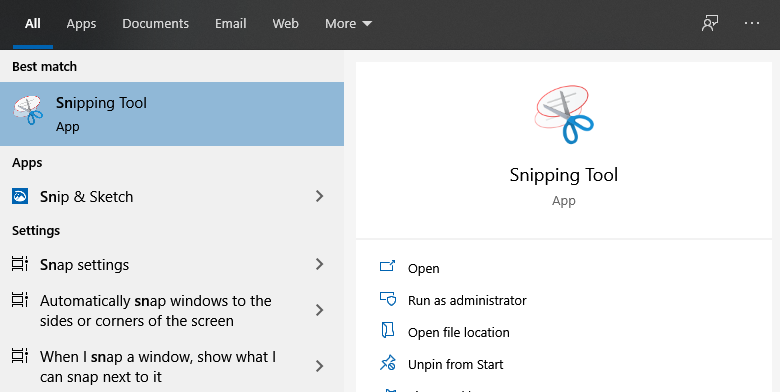
- Click on the Start menu and search for the Snipping Tool. Launch the first result.

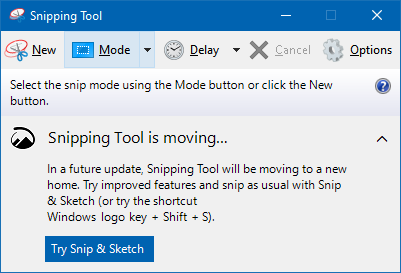
- You can select the mode you want and also select the delay for the screenshot.

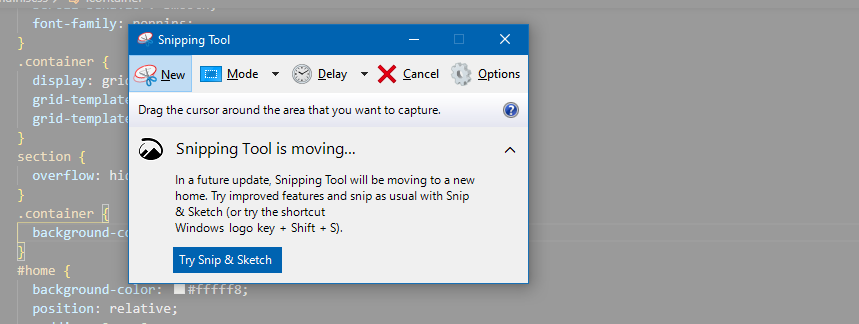
- Then, Click New and then select any part of the screen.

- Snipping Tool will then allow you to share, copy, highlight or save the screenshot.
2. Windows Shortcuts to Take Snaps
Windows provides different shortcuts, based on different needs. They are listed below:
1. Print Screen Key:
This is the simplest way you can take a screenshot. Simply pressing the Print Screen key (Prt Sc or Prt Scrn on different keyboards) will take a screenshot of the entire window and then save it to the clipboard. You can use any image editor (We’ll be using MS Paint throughout this article).
- Press the Print Screen/ Prt Scn/ Prt Scrn key while the Window you want to take a screenshot of is open.
- If you don’t hear or see any indication of a screenshot, don’t worry. Simply click on the start menu and open Paint.

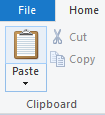
- Click on the Paste icon at the top-left corner. You can now edit the screenshot or simply save it by pressing Ctrl+S.


2. Windows+Print Screen:
If you want to take a screenshot and have it saved automatically, then this is the best option for you. You can edit the screenshot later.
- Simply press Windows+Print Screen together. The screen will be dimmed for a second and this is the screenshot indication.
- Go to C:\Users\Username\Pictures\Screenshots (Replace Username with your account name).
- The screenshot will be saved in the format Screenshot(number).png.

3. Windows+Shift+S:
Personally, this is my favorite method of taking a screenshot simply because it allows me to edit the screenshot before taking it. This way, I can get the exact part of the screen that I want without having to edit it later on. This shortcut actually launches Snip&Sketch, which will be discussed in the next section.
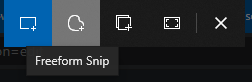
- Press Windows+Shift+S together to view different screenshot options.

- The first option will let you take a rectangular screenshot of any size and the second one will let you take a screenshot of any size and shape. The next option will take the screenshot of an entire window of your choosing and the fourth one will take a screenshot of the entire screen.

- Select the option you want and the screenshot will be saved to your clipboard.
- You can use paint to save it.

4. Alt+Print Screen:
This shortcut is perfect for taking the screenshot of a window when you have multiple windows open. Simply click on the Window to bring it to the foreground before taking a screenshot.
- Click on the Window you want to take a screenshot of and then press Alt+Print Screen.
- Open up Paint and click on Paste.
- Save the screenshot by pressing Ctrl+S.
Free Screenshot Capture Software for Windows
These are the 6 third-party apps that you can use to take screenshots in Windows 10. They are not ranked in any particular order, so feel free to choose whichever seems suitable.
1. Snip&Sketch

Microsoft has been pushing Snip&Sketch to be the successor to Snipping Tool and it’s easy to see why. Snip&Sketch retains the ease of use while adding a few more features. Like we mentioned earlier, Snip&Sketch can be opened with a Windows shortcut. It lets you easily edit and save the screenshots. Technically, this is an inbuilt app since it can be launched by a shortcut. However, to access the full features, you can simply download it for free on the Microsoft Store.
2. GameBar

GameBar is another inbuilt app that lets you take screenshots. This app is aimed at (you guessed it!) gamers who like to stream their gameplay. It lets you do a lot more things apart from taking a screenshot, but today we are going to focus on its screenshot capabilities. Pressing Windows+G will open up GameBar and you can click a screenshot by clicking on the Camera icon. Weirdly enough, the screenshots will be saved under C:\Users\Username\Videos\Captures. You can also use Windows+Alt+Print Screen to take a GameBar screenshot.
3. SnagIt
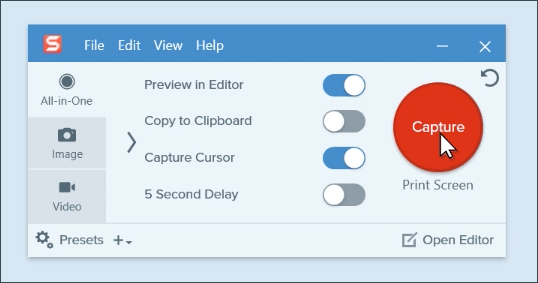
SnagIt is currently one of the best third-party applications you can use to take screenshots. It provides a lot more features compared to the built-in apps. You can record small videos and take scrolling screenshots, among other things. It’s not free, but you can use the free trial before spending anything. You can check out SnagIt by TechSmith here.
4. Snipping Tool++

Snipping Tool++ is a program that was not developed by Microsoft, but it is extremely similar to the original Snipping tool. However, it offers more features over the original and it still keeps the simplistic design. You can download Snipping Tool++ here. This App needs Java Runtime Environment installed too, which you can download here.
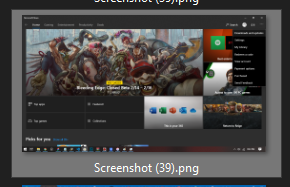
5. ScreenPresso

ScreenPresso is a program that gives you a lot of flexibility in terms of taking screenshots. It can also do video captures.ScreenPresso is free, but you can unlock all of its features by purchasing it. You can read more about it’s pricing and features here.
6. LightShot
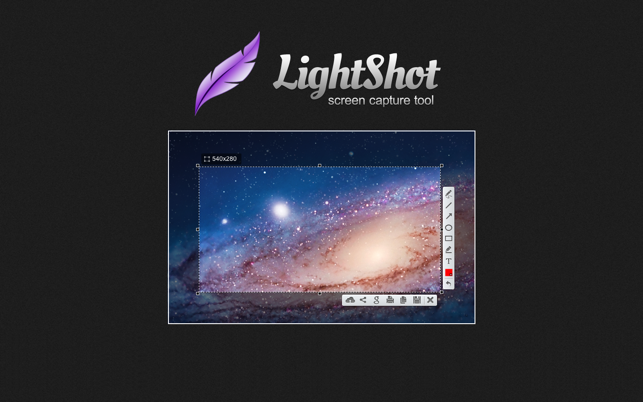
LightShot is a simple, but a feature-filled tool for Windows. It will let you take screenshots easily and also has powerful editors. It will also let you easily share the screenshots. It’s free and you can download it here.
Bonus: How to Take Screenshot on Surface Devices
You can take a screenshot on a Surface tablet by pressing the Windows button and the Volume down button.
If you own a Surface pen, you can double-click it to take a screenshot.
Final Take
That’s all you need to know about how to take a screenshot in Windows 10. Hopefully, this article has cleared up everything for you. If you have any doubts or suggestions, please let us know in the comments section down below.