In each Windows version, Microsoft Paint is a pre-installed app. It has a user-friendly interface with certain features. With time, Microsoft has introduced the latest version of it. It’s accessible in Windows 10 and named “Paint 3D”. The recent version is entirely divergent with new updated features. Its latest tools, features, and functions are completely different. In this article, you will learn how to make a transparent background in Paint.
Transparent background pictures easily stack on each other. Additionally, the particular task you’re doing might require transparent images. Transparent background images seem to be more impactful to users. You can blend two different images with transparent backgrounds. Most importantly, you can add any color to the background.
You certainly can make an image background transparent. That too both in Paint and Paint 3D. Obviously, you have to shape-off the foreguard area of it. Alternatively, you also can eliminate specific areas from images.
Unfortunately, you cannot save transparent background images in MS Paint. You can toggle off and on the Transparent Selection option. You might think that turning it on can save transparent-images. But it doesn’t work like that. However, the option only works in the MS Paint application. And that too only on a white background.
First, you have to select the object. Next, cut off the existing background. White, red, yellow, the background can be of any color. Once you save the image with transparency, it works. However, the process seems pretty much difficult for newbies. Therefore, I’m here to help you with the stages of attaining transparent images. So let’s move ahead…
How to Make a Transparent Background in Paint?
You can do it with simple steps. There are different ways to add transparent backgrounds to images. In MS Paint and Paint 3D both, you can create transparent backgrounds. Other than that, there are other alternative ways as well.
In Paint, you can make the surroundings transparent. You just have to shape-out the foreguard area of it. At last, you paste the cut-out on a different image. So the procedure seems pretty easy.
Next, in Paint 3D, you just eradicate the specific area. So there remain transparent areas in the images. So you can add different layers in the background.
Additionally, with the original Paint, you can select fore-guards. This is the answer to your query on how to make a transparent background in Paint? However, you cannot save transparent backgrounds in the Windows accessory. Thus you must add layers to it and combine images.
Thankfully, in Paint 3D, adding a transparent background is easier. Once you go ahead, you can explore the processes. So let’s roll further and find out how it works.
Adding Transparent Image Backgrounds in Paint
MS Paint was the first thing we learned in Windows. So we’re already pretty much aware of its workarounds. However, getting a transparent background might be something new. So ensure to follow the steps accordingly for the best results.
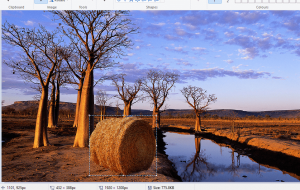
- Go to the Cortana button and enter Paint in the search box. As soon as the option appears, open MS Paint.
- Choose File and click Open. Choose your desired image and open it.
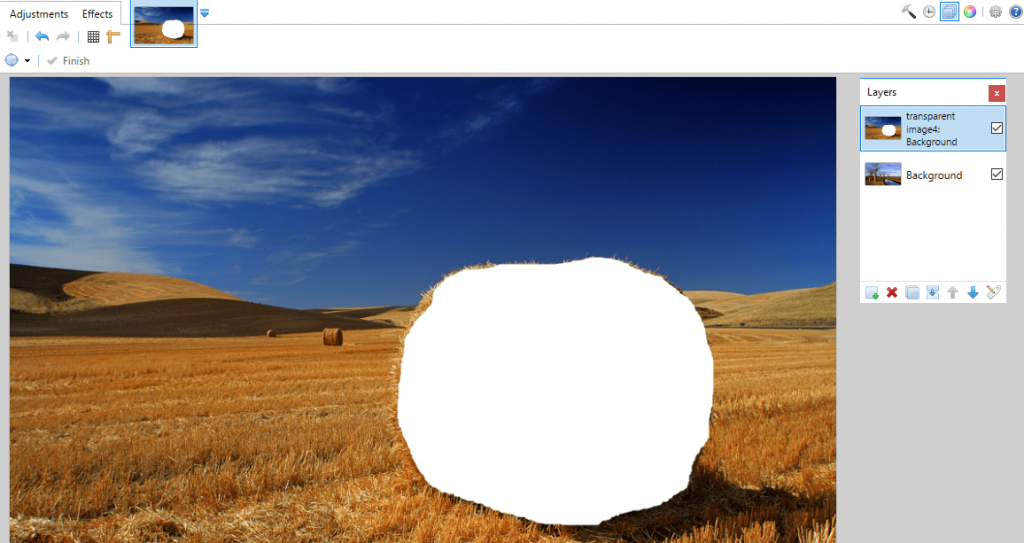
- Hit the button Select. Tap the option Transparent Selection.

- On the Select menu. Choose the Free-form selection button.
- Cut off the foreguard area. By pressing and holding the left mouse button. Thus the area is away from the actual image.
- Only the traced area is visible now. The rest of the background remains transparent.
- Around the area you select, there is a rectangle. Right-click within it.
- On the context option, choose Cut. Thus you eliminate the foreguard from the original image.

- Open a fresh image in paint again.
- Paste the foreguard area on it by pressing Ctrl+V.
- Now finally, there is a transparent background in the image. The rest of the next image is reflecting behind it.
- Left-click on the pasted foreground. Drag and drop it on the appropriate position in the background.
So finally, you attain a transparent background in an image. However, the procedure in Paint might not be successful. As I already mentioned before. So you can move to the next step with Paint 3D.
Adding Transparent Image Backgrounds in Paint 3D
On cutting-out, the foreground area creates a blank space. In the original picture, it might look transparent after that. But the fact is, it doesn’t appear transparently after saving.
Consequently, the area remains blank on opening it. Later, you have to utilize it in other image-editing software. Therefore, it adds up a layer to the image. This way you can also merge the separate images.
Fortunately, saving transparent areas in images is easier in Paint-3D. It exists in Windows 10 and doesn’t have full layers. In order to make it overlap, you can insert one image on another. Thus with a background layer image, you fill transparent areas. Therefore, you must’ve realized that Paint 3D works differently. So let’s go ahead and follow the steps accordingly.
- Open Windows 10 search box and enter Paint 3D.
- Choose Menu. Click on the Open button. Tap on the Browser file option.
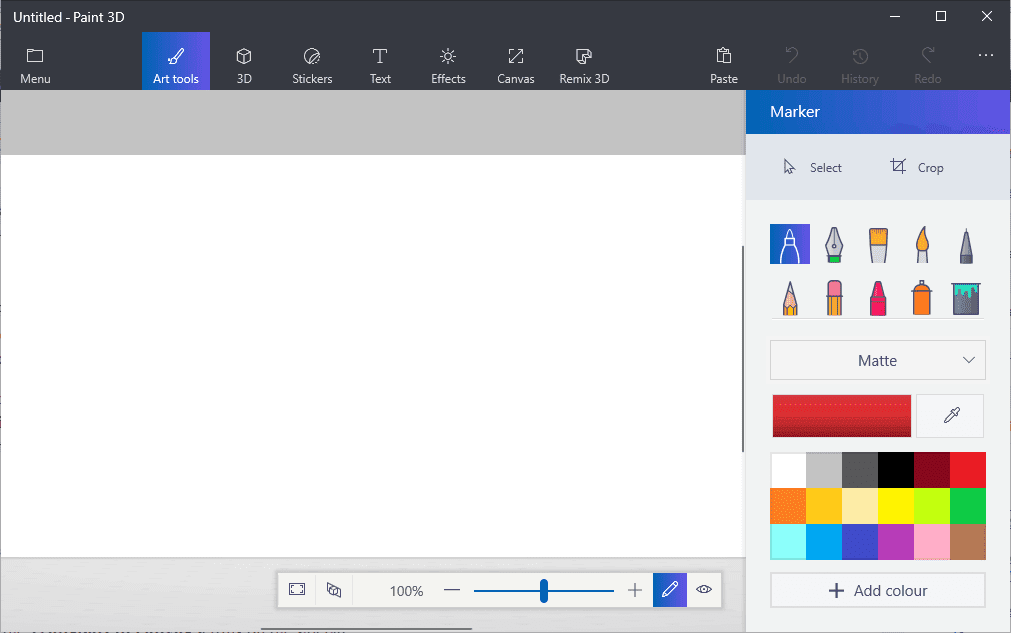
- Now choose your desired image and open it in Paint-3D.
- Open the sidebar by tapping the Canvas option.
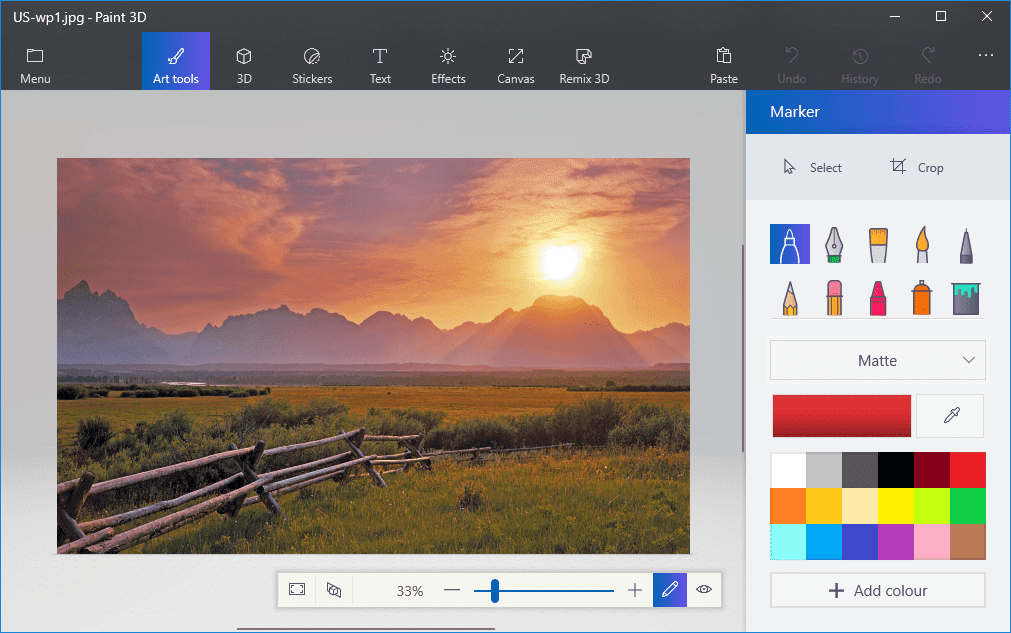
- On the sidebar, navigate to and click Transparent canvas settings.
- Hit the Select option. Drag the readable to cut out the area of the picture.

- Cut out the area by pressing the Ctrl+X hotkey. You can check the screenshot and get an idea of it.
- Now you can find a transparent area on the image. You can certainly fill it with any alternative background layer.
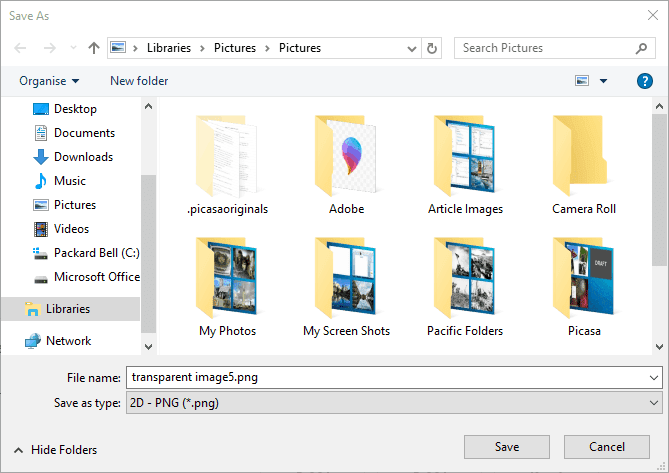
- Choose Menu and click the ‘Save as’ option. Hit the 2D PNG button.
- In the text box, enter your preferable file name. Hit the Save option.
- Again, click Menu and open a blank canvas by choosing New.
- Go to the menu, choose Open and then Browse files. Choose another image to add the background layer.
- Choose Menu, click Insert. Tap on the transparent picture you saved before.
- The transparent image will appear on the background layer. You can check out the screenshots and get better clarifications

- In the overlapping-image, the background picture fills the transparent area.
- Move the cursor to any corner of the selection border. Press and drag the cursor to resize the overlapping image.
- Bring the cursor on the selection border-top on the circle rotation. Press the left mouse button and rotate the foreguard image layer.
- Rotate the selection layer. Drag the cursor clockwise or anticlockwise from left to right.
Finally, you end up adding transparent backgrounds to pictures. This is how Paint 3D works in Windows 10. Later, you combine other images with a transparent picture. Straightaway, overlap those with layers or paste the chosen foreground.
Alternative Option To Add Transparent Backgrounds to Images
Adobe Photoshop is one of the finest graphics design software. It’s been ruling the digitization industry for more than a decade. The software program boasts a variety of handy features. And surprisingly, the application makes excellent transparent background images. Therefore, it is another great option for you.
Fortunately, you can overlap images with excellent effects in Photoshop. The reason is, it enables you to use image layers. So creating a transparent background is easier and accessible.
Here are the steps to attain transparent background images. So work with the steps accordingly in Adobe Photoshop.
- Navigate to the right pane and find the Layers tab. Choose Duplicate Layer after right-clicking the picture.
- Ensure that you’ve hidden the recently-created bottom image layer.
- In the Layers section, choose the original image. Move to the left pane of the toolbar. Tap the Magic Wand tool.
- The background you wish to turn transparent, choose, and mark.
- Hit the key Delete from your keyboard.
- Click File and then Save as.
- Name your image and save it to your device. Keep it in the PNG format.
So these were the usual steps in Adobe Photoshop. This was one of the useful tools that work well. In case you’re a graphics designer, you can add-up extras. There are numerous options in the software to edit images. So go ahead and explore to pour life to images.
Adding Transparent Image Backgrounds in MS PowerPoint
Now here is another hack to try out for you. The above tricks might sound a bit complicated. Thanks to PowerPoint that makes the task easier for you. Ensure to install Microsoft PowerPoint and let’s begin. Go through the steps accordingly and remove image backgrounds quickly.
- Open Windows search box and enter PowerPoint.
- Insert the image you would like to work with.
- Choose the picture.
- Move to the Picture Tools. Navigate to the Adjust group and choose the colour.
- Choose Set Transparent Colour. Here you find a colour selection tool around the mouse cursor. Move to your picture. Hit the colour you wish to eliminate.
- Now you can find the color disappearing instantaneously. Hover your cursor on the picture, right-click on it. Choose Save as a picture.
- There is a dropdown menu in the Save As Picture dialogue box. Click on it and choose PNG format while saving. Enter the file name and save.
Suppose, background-color exists in other areas of the image. Remember, those areas will be removed too as you instructed. So you finally end up removing the background from images.
That’s all
Hopefully, we were successful in resolving your query: how to make a transparent background in Paint? The above stages are pretty much useful and simple. I agree that there should be different ways of doing it. However, the problem isn’t always about the steps. There is multiple software to do it in a jiffy. Most of them are expensive and useless. As Microsoft tools have never cheated, I would prefer them. In fact, some of the software does it for free. But they tend to produce lower image quality. And compromising with the quality isn’t worth it for sure.